
Setting Standards in Non-destructive Concrete Testing with Ultimate Ultrasonic Tomograph A1040 Mira 3D
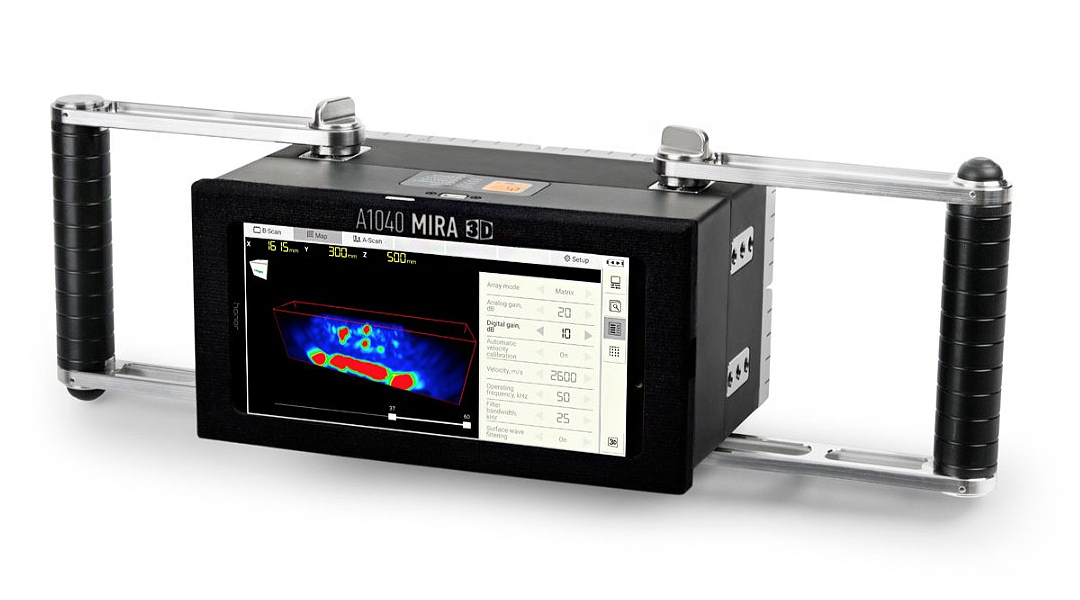
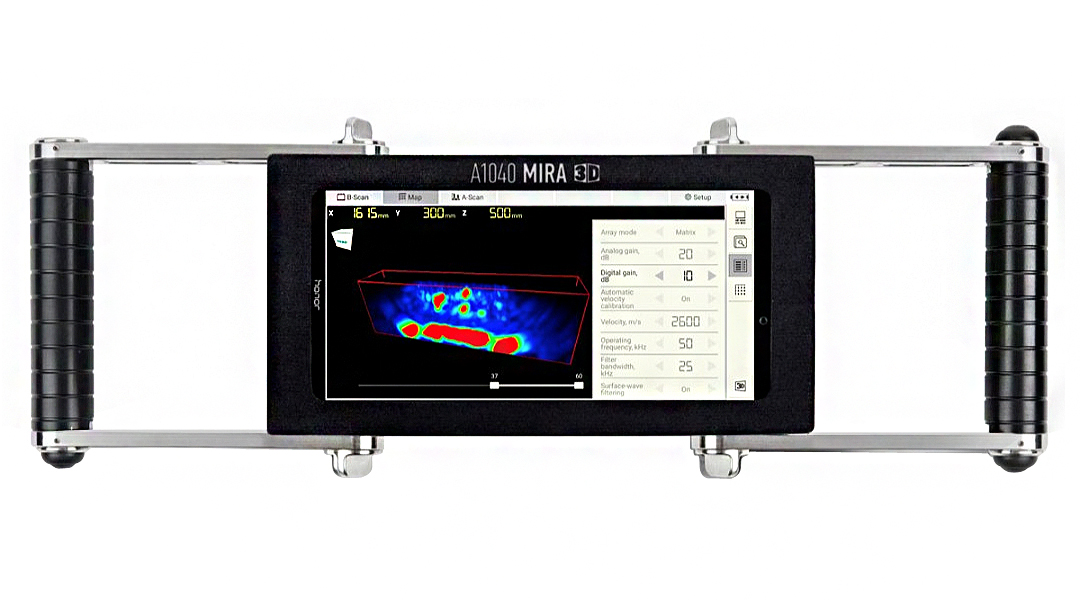
A1040 MIRA 3D - rebar, flaw and thickness detector for concrete
Elevate Your Concrete Assessment Game with Unprecedented Precision in Thickness Measurement,
Rebar Localization, and Flaw Detection.
- Unbeatable penetration depth of up to 3 m / 8.5 ft
- Real-time 3D Imaging via three-dimensional FMC/TFM
- Up to 10 hours of continuous operation on a single battery charge
Download exemplary practical report on ultrasonic testing of a reinforced concrete beam
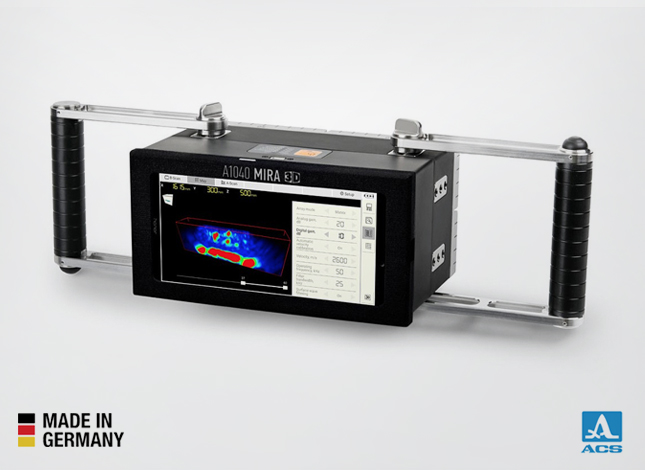
Ensure accurate and precise concrete testing results with MIRA 3D
-
Strongly reinforced concrete objects
-
Provides detailed subsurface imaging
-
Assists in inspecting pillars
-
Effectively assesses structures
-
 Offers a comprehensive view

-
See Beyond the Surface
Achieve incomparable penetration depth of up to 2m/6.5ft, revealing hidden details within concrete structures.
-
Cover More Ground
With a maximum square coverage of 10x10m²/33x33sq.ft, you can assess larger areas efficiently and comprehensively.
-
Uninterrupted Assessments
Enjoy up to 10 hours of continuous operation on a single battery charge, ensuring you complete multiple tests without interruption.
-
Effortless Control
Take command remotely with ease. Control the unit via Tablet-PC or Laptop for stand-alone applications, ensuring a seamless testing experience.
-
Cross-Platform Flexibility
Whether you prefer ANDROID or WINDOWS, our application software is included in the standard delivery set, offering compatibility and convenience.
-
Immediate Insights
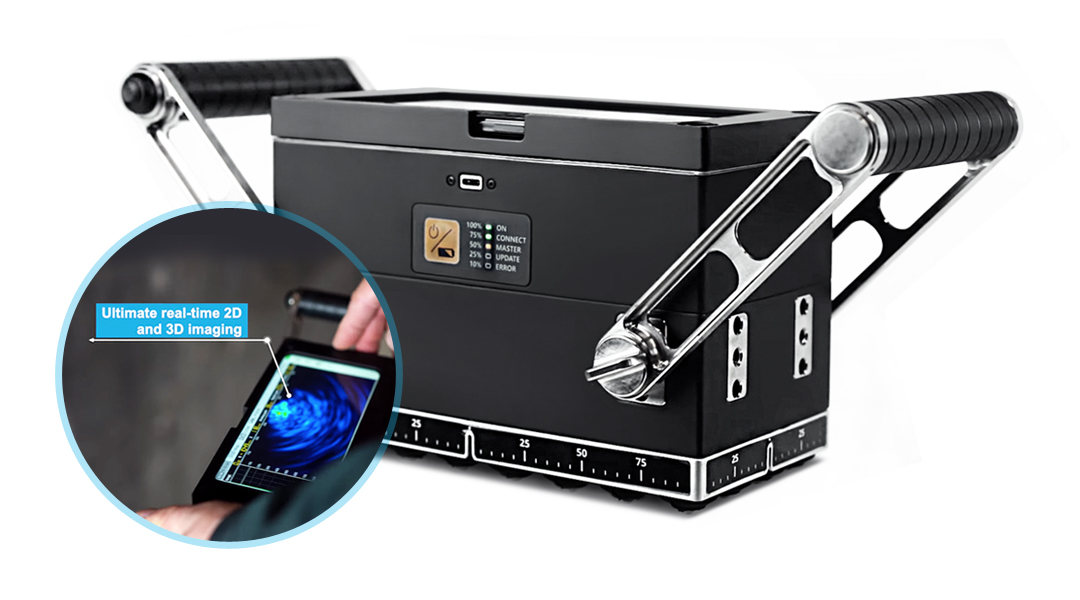
Experience real-time 3D imaging for instant visualization and on-the-spot decision-making.
Description

A1040 MIRA 3D is a low-frequency ultrasonic tomography system suitable for manual and automated assessment of concrete structures.

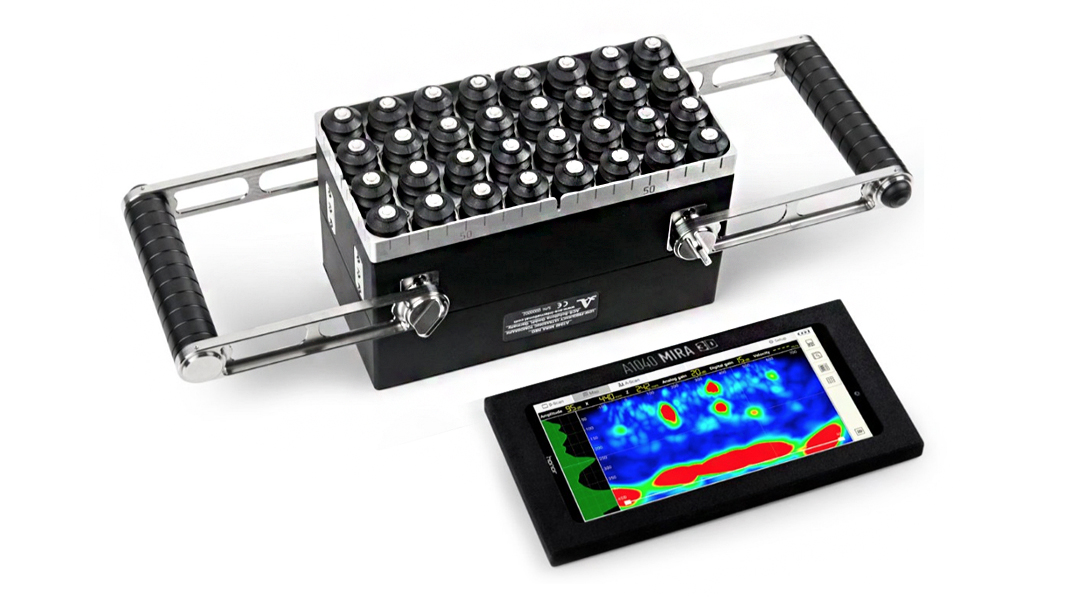
The instrument consists of a lightweight body with 4 x 8 Active Dry-Point-Contact transducers with integrated pulser-receiver circuits and parallel DAQ.

With special transmitting techniques such as E-Boosting, an outstanding penetration depth has been achieved even by using the instrument's relatively small active aperture.

MIRA NEO DESKTOP software for remote unit control and 3D visualization & analysis of Big Data is an essential part of the instrument delivered in the standard delivery set.
Official
Distributors
- Over 30 Years of Experience since 1991
- Pioneering Ultrasonic Tomography in NDT
- Number of Patents and Innovative Solutions
- 41 High-demand Proficient Instruments


A1040 MIRA 3D is a low-frequency ultrasonic tomography system suitable for manual and automated assessment of concrete structures.

The instrument consists of a lightweight body with 4 x 8 Active Dry-Point-Contact transducers with integrated pulser-receiver circuits and parallel DAQ.

With special transmitting techniques such as E-Boosting, an outstanding penetration depth has been achieved even by using the instrument's relatively small active aperture.

MIRA NEO DESKTOP software for remote unit control and 3D visualization & analysis of Big Data is an essential part of the instrument delivered in the standard delivery set.
Official
Distributors
- Over 30 Years of Experience since 1991
- Pioneering Ultrasonic Tomography in NDT
- Number of Patents and Innovative Solutions
- 41 High-demand Proficient Instruments


Discover How MIRA 3D Works
The ultrasonic tomograph A1040 MIRA 3D is the best solution for ultrasonic testing of highly scattering materials, such as concrete and reinforced concrete, stones, rock, composites, ceramics, wood, epoxy, refractory materials.
Scheme of work
Download exemplary practical report on ultrasonic testing of a reinforced concrete beam
Specification
| Parameter | Value |
|---|---|
| Instrument type | Multi-channel ultrasonic pulse echo tomograph with built-in matrix transducer array |
| Number of channels | 32 (extendable to 64, 96 etc.) |
| Number of independent elements in the matrix transducer aperture | 32 (extendable to 64, 96 etc.) |
| Type of the ultrasonic transducers | Active dry point contact (A-DPC) transducers with ceramic wear proof tips and integrated pulser-receiver electronics |
| Bandwidth | from 10 to 100 kHz |
| Material sound velocity range | from 1.000 to 4.000 m/s (from 40 to 157 inches / s) |
| Maximum penetration depth in reinforced concrete | up to 3.000 mm (118 inch) |
| Power supply | Exchangeable Li-Ion battery 18650 |
| Battery operation time | up to 10 hours |
| Maximum dimensions of one unit without handles: | 200x125x100 mm (7,9 x 4,9 x 3,9 inch) |
| Maximum weight of the electronic unit with the batteries, handles and tablet PC mounted | 3.5 kg |
| Operating conditions: | |
| air temperature range | from -20 to + 50°С (from 25 to 122°F) |
| relative air humidity at +35°С / 95°F, max. | 95 % |
| Average service life, min. | 5 years |
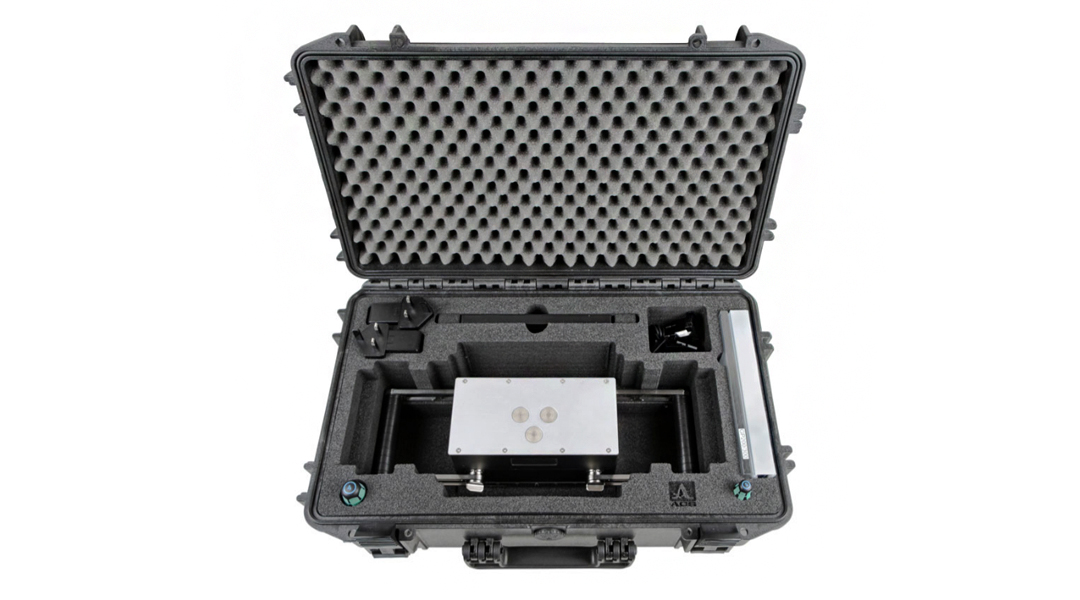
Delivery kit
1
Electronic unit A1040 MIRA 3D with 32 x A-DPC® transducers
6
Exchangeable Li-Ion battery 18650
1
Operating Manual
1
Reference block for regular functional tests
2
Data cable USB Type C
1
Hard case
1
INTROVIEW® Pro Software with 12 Months Update & Support service
2
Type C power supply
1
Warranty certificate 24 months
1
Tablet-PC with protective case
2
Screwdriver for battery exchange
INTROVIEW® Pro Software
Explore the capabilities of our INTROVIEW® Pro software, an essential component included in the standard delivery set of our instrument.
Remote Control and Real-time Visualization
Advanced 3D Visualization and Big Data Analysis
Customised Developments for Your Unique Needs
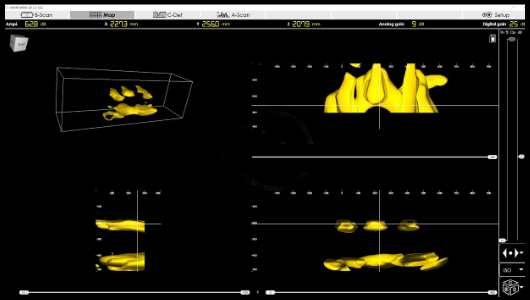
MIRA NEO – Application Software
The desktop software application for acquisition and post-processing of the A1040 MIRA 3D data.
The application software MIRA NEO is dedicated to acquisition of measurement data of the ultrasonic tomography system A1040 MIRA 3D in automated inspection systems. Further, the MIRA NEO software offers the full-scale 2D and 3D visualization and analysis tools for post-processing collected data of A1040 MIRA 3D.
Learn more
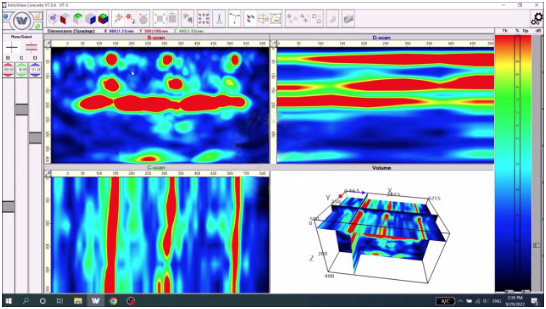
INTROVIEW CONCRETE
Aging civil infrastructure made of concrete and reinforced concrete puts new requirements to the quality assurance concepts allowing integral assessment of infrastructural objects. Ultrasonic testing with its unique deep penetrating capability offers substantial opportunities for visualization and evaluation of the internal structure of large constructions.
On the other hand, large dimensions of the inspection objects hinder the evaluation of the inspection results beyond inconclusive single data acquisitions in «local» measurement positions.
Learn more
FAQ
What materials can be inspected by means of A1040 MIRA 3D?
The low-frequency ultrasonic pulse-echo tomography is applicable to all heterogeneous materials where "regular" ultrasonic flaw detectors (frequency range 1 – 10 MHz) cannot be applied. The following materials can be considered as "inspectable" by A1040 MIRA 3D:
- Concrete, rock, marble, stones
- Refractory materials/ceramics, such as fireproof bricks
- Composite materials, e.g., glass-fiber components with significant wall thickness (e.g., wind turbines)
- Large carbon electrodes
What are the typical applications of ultrasonic pulse-echo tomography by means of A1040 MIRA 3D?
The ultrasonic tomograph A1040 MIRA 3D can be applied for:
- Measuring the thickness of concrete walls
- Locating structural metallic elements (reinforcement, tendon ducts, pipes)
- Detecting material voids in concrete (e.g., delaminations, cracks, honeycombs, cold joints).
- Further advanced applications of MIRA include:
- Assessment of the tendon ducts
- Measuring the depth of the open cracks with one-side access
What are the "smallest" elements or defects that can be detected in concrete by means of A1040 MIRA 3D?
The detection and resolution capability of ultrasonic tomography depends on several factors, such as:
- Material properties (e.g., aggregate size), and thus, the applied inspection frequency
- Reflectivity of the defect/structural element, which, in turn, depends on its shape and orientation in the inspection volume.
- Depth position of the reflector
- Effective aperture of the tomograph
In an "average" case, we can state that for an elongated cylindrical reflector (like rebar), the detectable diameter might be 15 mm, while for a "round air bubble," the detectable diameter might be 20 mm.
What is the attainable inspection range of the ultrasonic pulse-echo inspection?
Keeping in mind that sound attenuation in concrete depends on material properties, such as aggregate size or density of the ceramic blocks, the inspection range must always be considered as a derivative of the optimal inspection frequency. When using an optimal inspection frequency in combination with a sufficient effective aperture of the ultrasonic instrument, the achievable inspection range can be up to 2 – 3 meters. Advanced signal generation and processing techniques, like using coded excitation sequences (E-Boosting), may double the inspection range of the instrument to up to 4 – 6 meters.
Do the INTROVIEW® and MIRA NEO® software support the merging of multiple scans collected over large square?
Both available software packages for visualization and analysis of UT data perform three-dimensional image reconstruction, when the scans are collected in so called MAP mode – when equidistant measurement points are distributed over the region of interest. The 3D representation of the UT results by overlapping multiple scans provide the most comprehensive information about the inspected volume.
Are there established standards for pulse echo testing?
Pulse echo testing is included in the European standard EN 12504-4 for pulse velocity determination. This is then subsequently included in the standard EN13791 for in-situ compressive strength estimation. Though, there are no international standards for pulse-echo imaging and flaw detection yet. The only available guideline for pulse-echo flaw detection is the German Society for Non-Destructive Testing Guideline B4. It is also covered in a German highway authority guideline for measuring tunnel lining thickness (ZTV-ING Teil 5 Tunnelbau) and ACI 228.2R.
Is it possible to identify water-filled voids in concrete with Mira 3D?
Any void filled with the material having different density then concrete can be visualized and detected by ultrasonic tomograph A1040 MIRA 3D, supposed those voids have sufficient spatial dimensions exceeding the ½ of ultrasonic wavelength.
How close to the surface can ultrasonic pulse-echo technology measure?
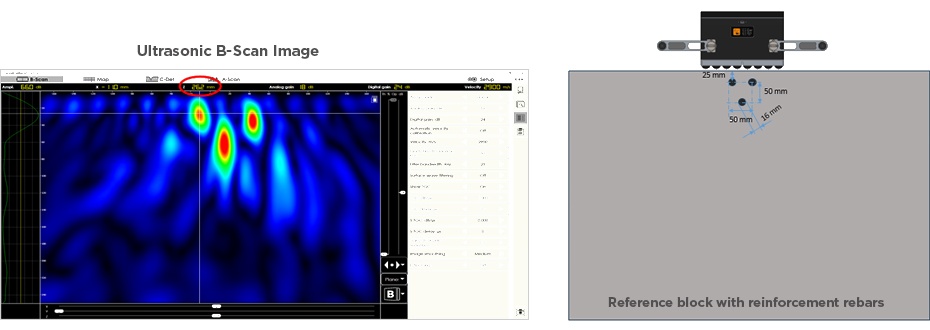
The image below represents detecting steel rebar of ∅16 mm at 17 mm depth (25 mm to the center of rebar).

Can ultrasonic pulse echo detect voids beneath rebars?
The ultrasonic pulse-echo tomography is the most suitable technology for detecting voids, honeycombs, and delaminations even below the several rebar grid. While a dense rebar structure will shield a GPR signal from penetrating deeper into the structure, an ultrasonic pulse-echo signal passes through is able to detect deeper-lying voids.
The low-frequency ultrasonic pulse-echo tomography is applicable to all heterogeneous materials where "regular" ultrasonic flaw detectors (frequency range 1 – 10 MHz) cannot be applied. The following materials can be considered as "inspectable" by A1040 MIRA 3D:
- Concrete, rock, marble, stones
- Refractory materials/ceramics, such as fireproof bricks
- Composite materials, e.g., glass-fiber components with significant wall thickness (e.g., wind turbines)
- Large carbon electrodes
The ultrasonic tomograph A1040 MIRA 3D can be applied for:
- Measuring the thickness of concrete walls
- Locating structural metallic elements (reinforcement, tendon ducts, pipes)
- Detecting material voids in concrete (e.g., delaminations, cracks, honeycombs, cold joints).
- Further advanced applications of MIRA include:
- Assessment of the tendon ducts
- Measuring the depth of the open cracks with one-side access
The detection and resolution capability of ultrasonic tomography depends on several factors, such as:
- Material properties (e.g., aggregate size), and thus, the applied inspection frequency
- Reflectivity of the defect/structural element, which, in turn, depends on its shape and orientation in the inspection volume.
- Depth position of the reflector
- Effective aperture of the tomograph
In an "average" case, we can state that for an elongated cylindrical reflector (like rebar), the detectable diameter might be 15 mm, while for a "round air bubble," the detectable diameter might be 20 mm.
Keeping in mind that sound attenuation in concrete depends on material properties, such as aggregate size or density of the ceramic blocks, the inspection range must always be considered as a derivative of the optimal inspection frequency. When using an optimal inspection frequency in combination with a sufficient effective aperture of the ultrasonic instrument, the achievable inspection range can be up to 2 – 3 meters. Advanced signal generation and processing techniques, like using coded excitation sequences (E-Boosting), may double the inspection range of the instrument to up to 4 – 6 meters.
Both available software packages for visualization and analysis of UT data perform three-dimensional image reconstruction, when the scans are collected in so called MAP mode – when equidistant measurement points are distributed over the region of interest. The 3D representation of the UT results by overlapping multiple scans provide the most comprehensive information about the inspected volume.
Pulse echo testing is included in the European standard EN 12504-4 for pulse velocity determination. This is then subsequently included in the standard EN13791 for in-situ compressive strength estimation. Though, there are no international standards for pulse-echo imaging and flaw detection yet. The only available guideline for pulse-echo flaw detection is the German Society for Non-Destructive Testing Guideline B4. It is also covered in a German highway authority guideline for measuring tunnel lining thickness (ZTV-ING Teil 5 Tunnelbau) and ACI 228.2R.
Any void filled with the material having different density then concrete can be visualized and detected by ultrasonic tomograph A1040 MIRA 3D, supposed those voids have sufficient spatial dimensions exceeding the ½ of ultrasonic wavelength.
The image below represents detecting steel rebar of ∅16 mm at 17 mm depth (25 mm to the center of rebar).

The ultrasonic pulse-echo tomography is the most suitable technology for detecting voids, honeycombs, and delaminations even below the several rebar grid. While a dense rebar structure will shield a GPR signal from penetrating deeper into the structure, an ultrasonic pulse-echo signal passes through is able to detect deeper-lying voids.
Still have unanswered questions?
Contact us
You can ask any questions you are interested in. To do this, fill out the feedback form:

You can ask any questions you are interested in. To do this, fill out the feedback form:


About ACS Group
Acoustic Control Systems – ACS Group – Established in 1991 – is the International Provider of Innovative Ultrasonic Testing Equipment and Professional Inspection and Engineering Services.
The definitive distinction of ACS products is their high technological level and ease of use, matching the requirements of professional users in a wide range of practical applications. The main goal of our instruments is to reach top technical characteristics by affordable costs in combination with the perfect warranty service and methodical support of our customers.
More than 30 years of in-field testing experience in combination with scientific signal and image processing techniques and modern manufacturing processes by using the best components available on the market allow ACS to be always technologically one step ahead of competitors.
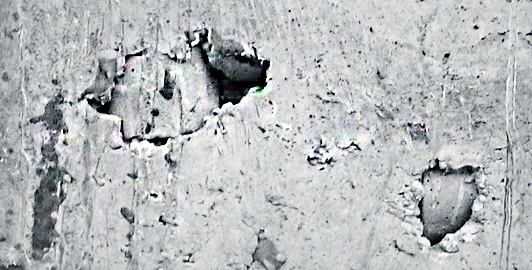

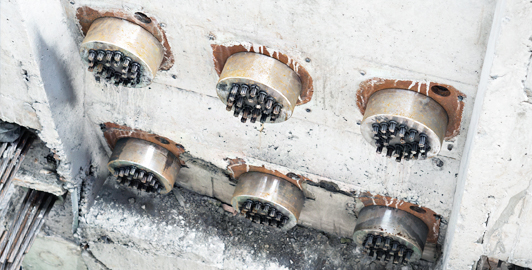

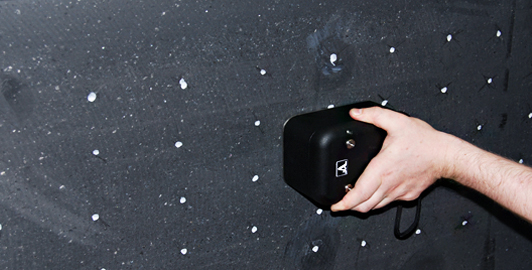


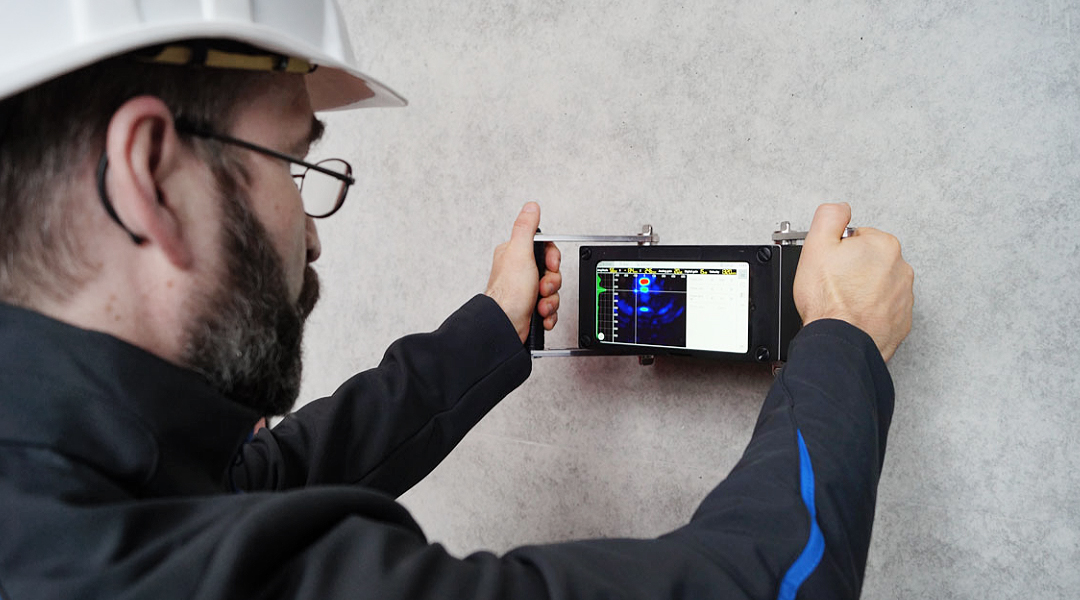



Thickness measurement by one-side access
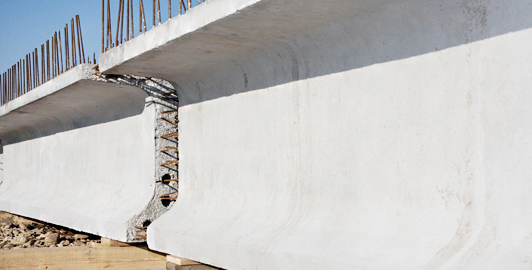
The A1040 MIRA 3D offers a unique advantage in accurately measuring material thickness even when access is limited to one side. This feature is particularly valuable for scenarios where accessing both sides of the material is impractical or impossible.