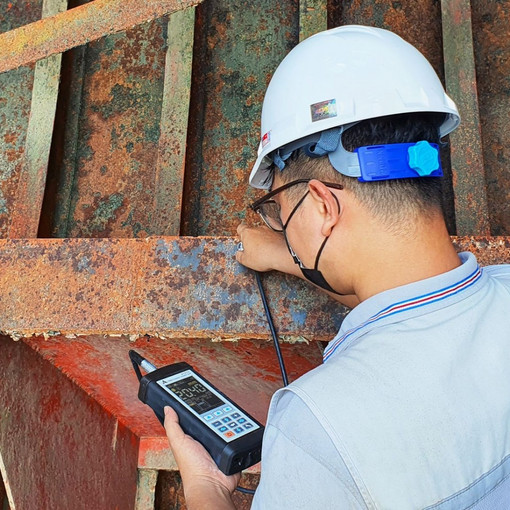
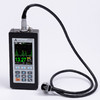
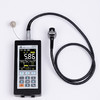
A1270 EMAT - thickness gauge for couplant-free operation
A novel EMA thickness gauge with an innovative electro – magnetic biasing technology (no permanent magnet) is designed to measure metal wall thickness without the use of coupling liquid.
Product Description
A novel EMA thickness gauge with an innovative electro–magnetic biasing technology is designed to measure thickness of objects made of steel and aluminum alloys without the use of coupling liquid.
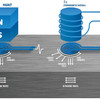
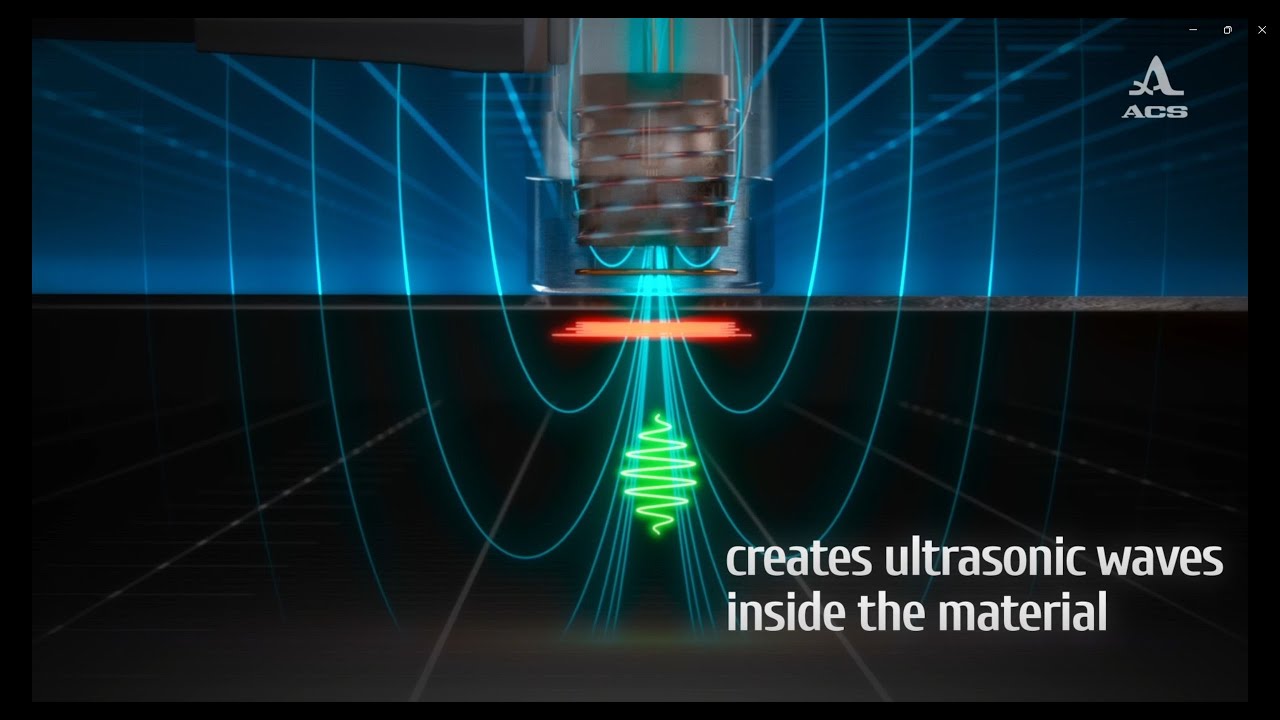
Substantial advantage of the new technology represents absence of a permanent magnet in the EMA transducers thus allowing sidestepping of strong adhesion of the transducer to the surfaces of the objects made of ferromagnetic steel; allowing scanning of the object being inspected, and preventing metal chips from sticking to the transducer’s protector, thus extending its service life.
Application
Thickness measurement of the walls of steel pipes and steel objects, parts and nodes made of metals and alloys without the use of coupling liquid and without pretreatment of the surfaces.
Thickness measurement of the sheet products.
Thickness measurement of the ship bottom without pretreatment of the surface.
Evaluation of anisotropy degree of the material.
An innovative technical solution frees the design of the EMA transducer from strong permanent magnets hence they are replaced with pulsed electromagnets. It excludes an effect of strong adhesion of the transducer to the ferromagnetic materials, as well as ensures safe operation of the transducer and simplifies scanning procedure, thus simplifying practical use of the thickness gauge during manual UT inspection.
Thickness measurement of metal objects through corrosive and paint coatings of up to 1.5 mm in thickness. Instrument’s screen displays a thickness value of the metal object without considering the coating if the coating thickness is 1.5 mm and thickness value of the object being inspected is up to 15 mm.
Scanning the object being inspected.
Small aperture of the EMA transducer (8 mm) allows to inspect of the small-diameter pipes (from 15 mm).
Operation in the display mode representing the measurement results in the form of digital values or in the mode with graphic imaging of A-Scan of the signal.
B-Scan mode to display a profile of the object being inspected on the instrument’s screen.
Specification
| Range of measurable thickness values: |
1 – 200 mm (depending on transducer) |
|---|---|
| Operational frequencies range |
2.5 – 5.0 MHz |
| The main accuracy of Х thickness measurement, mm, not worse than: |
±(0.01X+0.02) |
| Velocity range |
1 000 – 9 999 m/s |
| Size and type of the display |
3.5´´ TFT, antiglare, color |
| Number of recordable results |
50 000 measurements |
| 4 000 A-Scans Nominal accumulator voltage |
13.2 V |
| Period of continuous operation of the instrument powered by the accumulator, no less than |
9 h |
| Instrument-PC communication interface |
USB |
| Overall dimensions of the electronic unit, mm |
190x87x40 |
| Weight of the electronic unit, no more than |
900 g |
| Operating temperature range |
from – 30 to +50 ºC |
Delivery kit
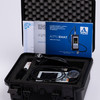
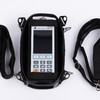
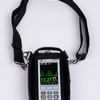
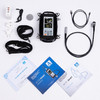
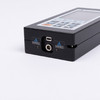
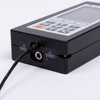
• A1270 – EMA thickness gauge electronic unit
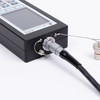
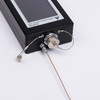
• EMA transducer with a built-in cable S3950 2.5A0D15ES
• Net adaptor with cable 220V-15V
• USB A – Micro B cable
• Case
Additionally
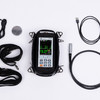
• EMA transducer S7394 2.5A0R10Х10ES
• EMA transducer S7392 3.0A0D10ES
• Movable capsule for EMA transducers (S73 series)
Firmware files
Documents
• Firmware installation
• Operation manual
• Advertising flyer (Metric)
• Advertising flyer (Imperial)

About ACS Group
Acoustic Control Systems – ACS Group – Established in 1991 – is the International Provider of Innovative Ultrasonic Testing Equipment and Professional Inspection and Engineering Services.
The definitive distinction of ACS products is their high technological level and ease of use, matching the requirements of professional users in a wide range of practical applications. The main goal of our instruments is to reach top technical characteristics by affordable costs in combination with the perfect warranty service and methodical support of our customers.
More than 30 years of in-field testing experience in combination with scientific signal and image processing techniques and modern manufacturing processes by using the best components available on the market allow ACS to be always technologically one step ahead of competitors.



Your email address will not be published. Required fields are marked *
Get a quote